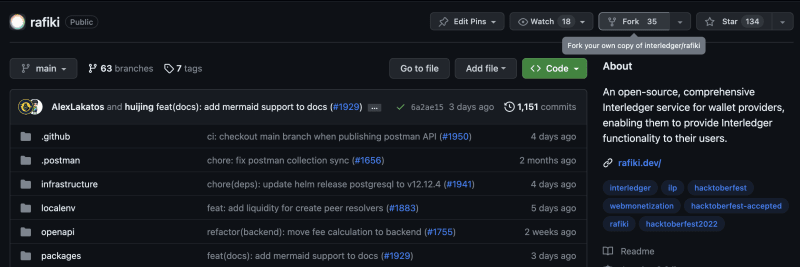
If you haven't heard already, Interledger is participating in this year's Hacktoberfest.🌟 You can read more about Hacktoberfest with Interledger here.
Hacktoberfest is here, and for many, it serves as a gateway to dive into the world of open source. I personally started my Open Source journey through Hacktoberfest back in 2015, and I've found that mastering Git and managing it efficiently can significantly enhance your Open Source contributions. 🌟
There is no one-size-fits-all approach to this; everyone has their preferred methods that work best for them.
In this post, I'd like to share a straightforward approach that has helped me streamline my Open Source work, using Rafiki as an example for commands and code. 🚀
Managing GitHub Remotes 🌐
GitHub Remote is the link that connects your local Git repository to the GitHub repository. Throughout your contribution journey, you'll be pulling code from the remote and pushing your changes to it. Here are a few tips for managing your remote
Clone the Repository from Its Origin:
When you clone the repository, make sure it's from its original source and not your fork. Your origin remote should look like this: git remote -v
   origin https://github.com/interledger/rafiki.git (fetch)
   origin https://github.com/interledger/rafiki.git (push)
Fork the Repository and Add it as a Remote:
After cloning, fork the repository and add your fork as a remote. Keep the remote name simple; fork works perfectly. It's only four letters, making it easy to remember and type.
git remote add fork https://github.com/devcer/rafiki
Here devcer is my GitHub username.
Now your remote should look like this
$ git remote -v
fork https://github.com/devcer/rafiki.git (fetch)
fork https://github.com/devcer/rafiki.git (push)
origin https://github.com/interledger/rafiki.git (fetch)
origin https://github.com/interledger/rafiki.git (push)
Contributing to Any Repository 🌱
As a contributor, you typically won't have direct access to push your branch to the repository. To contribute effectively, follow these steps:
- Clone the repository:
git clone https://github.com/interledger/rafiki.git
- Fork the repository:
- Add your fork as a remote on your local repository:
git remote add fork https://github.com/devcer/rafiki
(Replace devcer with your username.)
- Create and switch to your branch:
git checkout -b feat/new-feature
Make your changes. 🛠️
Push your branch to your fork:
git push fork feat/new-feature
Submit a pull request from your fork using the GitHub interface. 📤
Need to pull the latest updates from the
originremote?
git pull origin main
- Want to update your
forkremote from your local repository?
git push fork main
While some of the activities mentioned above can be performed directly using the GitHub user interface, where's the fun in that, right? Just kidding! Working with Git via the terminal provides you with a deeper understanding of how Git operates. Even if you can't remember all the commands, you'll still have a solid grasp of Git and the ability to figure out any command you want to use.
By following these steps, you can smoothly navigate the world of open source and contribute effectively during Hacktoberfest and beyond. Happy coding! 💻🔧


Top comments (1)
This is awesome! Thanks Santosh.